
Whether you’re restoring a roadside find or giving a tired family heirloom a new lease on life, having the right tools makes furniture restoration easier, faster and far more enjoyable. The good news is you don’t need a fully equipped workshop to achieve professional-looking results. With just a handful of easy-to-use tools, you’ll be ready to tackle most restoration projects.
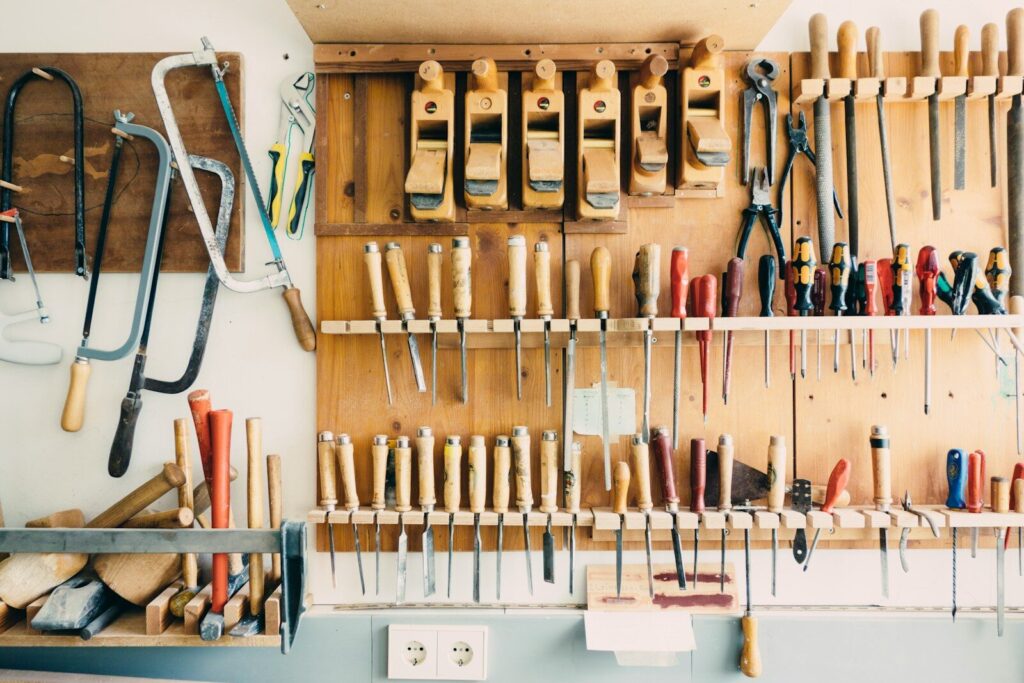
Here are the 10 essential tools every DIY furniture restorer should own.
1. Orbital Sander
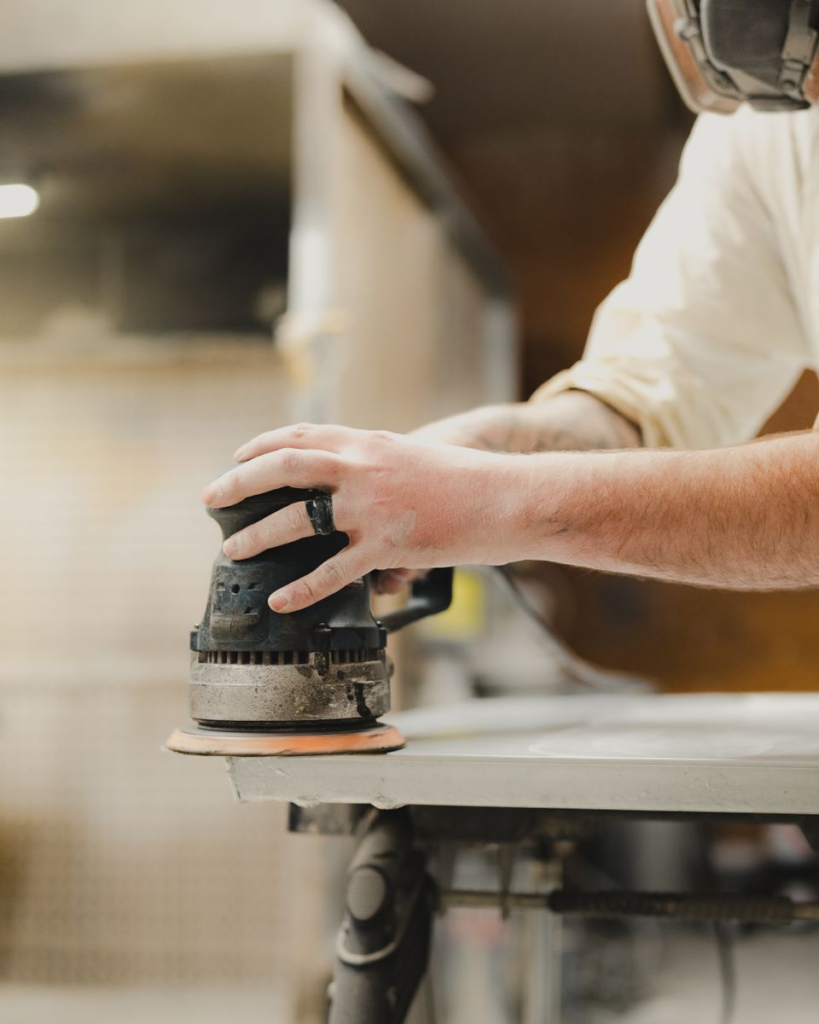
If you only buy one power tool, make it an orbital sander. Preferably one that plugs in (not cordless) for more power.
Bonus points if it is variable speed, is over 250W and has the ability to attach a shop vacuum if you want to use it inside. However, my cheap Ozito sander from Bunnings is none of these and does the job.
Removing old finishes by hand can take hours, while an orbital sander can strip varnish, smooth repairs and prepare timber for finishing in a fraction of the time. It’s suitable for tabletops, cabinet sides, drawer fronts and almost any large, flat wooden surface.
Pair it with sanding discs in a range of grits (80, 120, 180 and 240) for the best results. You can buy these in bulk from AliExpress (see How to Find the Best Bargains on AliExpress).
Best for:
- Removing old finishes
- Levelling timber
- Preparing furniture for oil or paint
2. Screwdriver Set
Many furniture projects begin with disassembly.
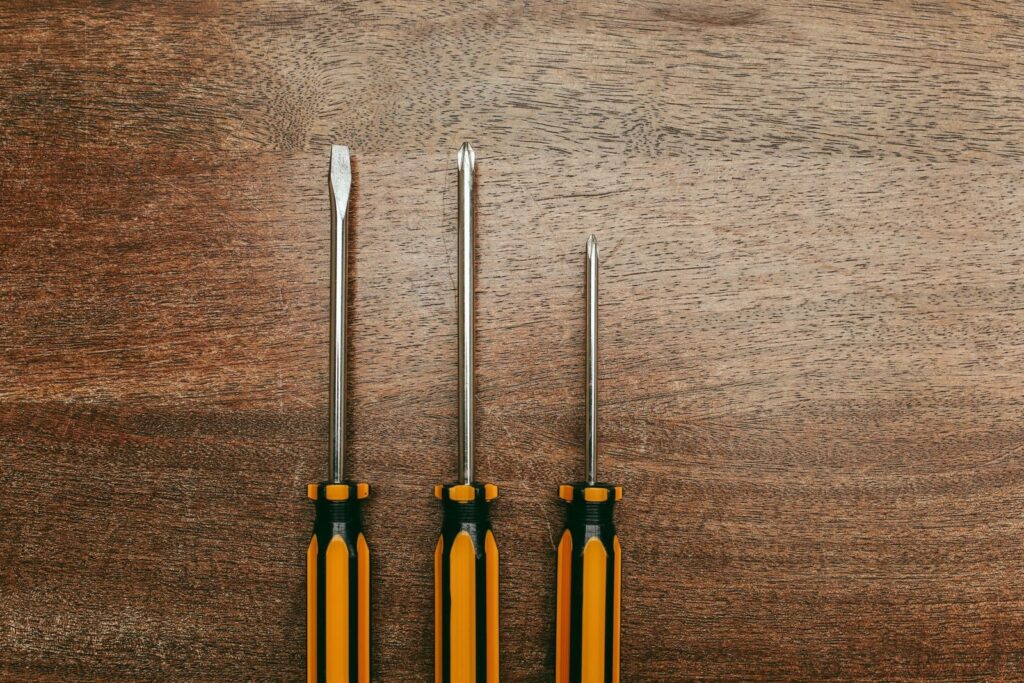
A good set of Phillips and flat-head screwdrivers allows you to remove doors, drawer runners, hinges, handles and other hardware without damaging them.
Magnetic tips make the job even easier but aren’t essential.
A cheap set of screwdrivers can definitely fit the bill to start but the tips can become damaged and worn out over time, which can wreck the screwdriver and the screw you are trying to undo. Keep an eye out for this.
Best for:
- Removing hardware
- Furniture repairs
- Reassembly
3. Tape Measure
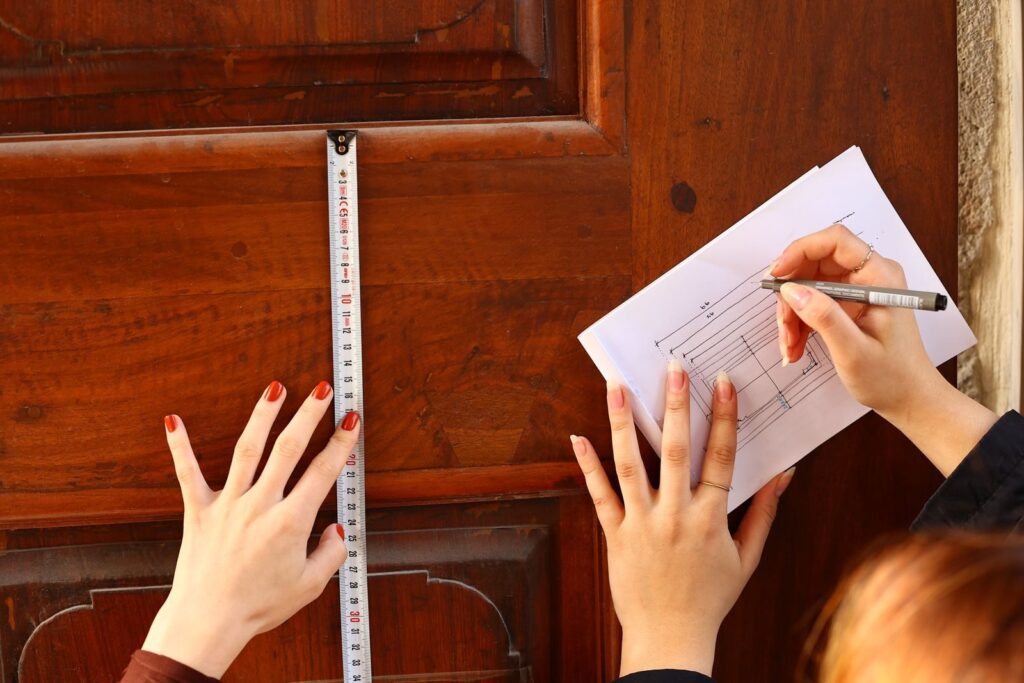
Accurate measurements are essential when replacing timber, cutting veneer or fitting new hardware.
A compact tape measure is one of those inexpensive tools you’ll reach for on nearly every project.
It also comes in handy before you even collect a piece of furniture, to make sure it will fit in the car or through the front door!
Best for:
- Measuring replacement parts
- Planning modifications
- Buying second-hand furniture
4. Saw Horses
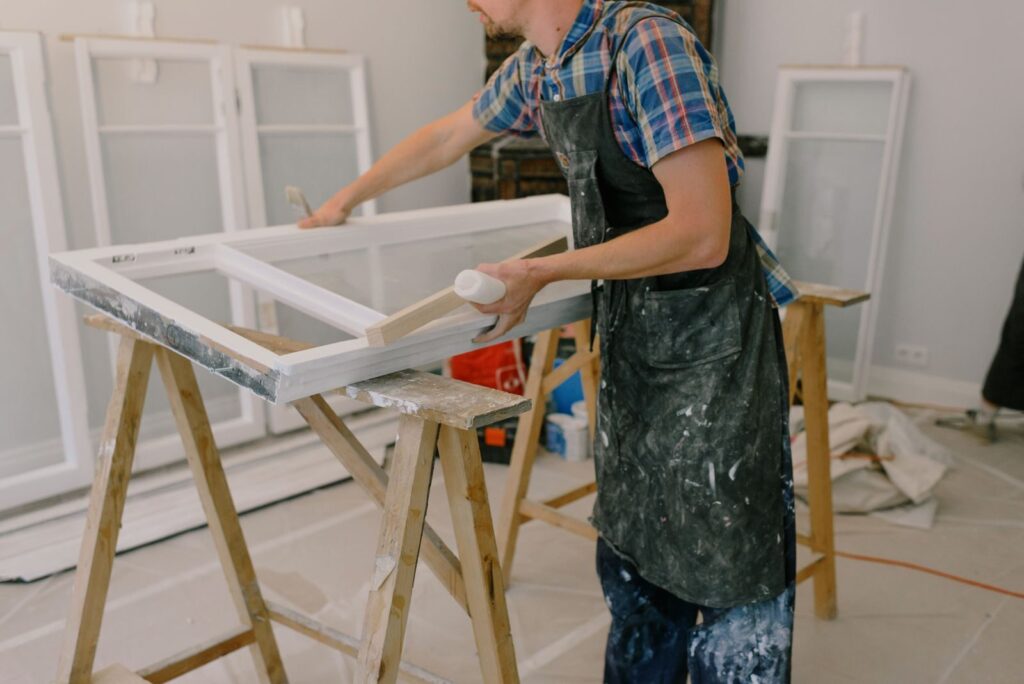
Saw horses instantly turn almost any space into a practical workshop.
Supporting furniture at a comfortable height makes sanding, oiling and painting much easier while protecting your back.
Folding saw horses are ideal if you’re short on storage space. If you have some spare timber lying around, you can even make your own but the commercial plastic ones are fine too.
Best for:
- Sanding
- Finishing
- General workshop support
5. Sanding Block
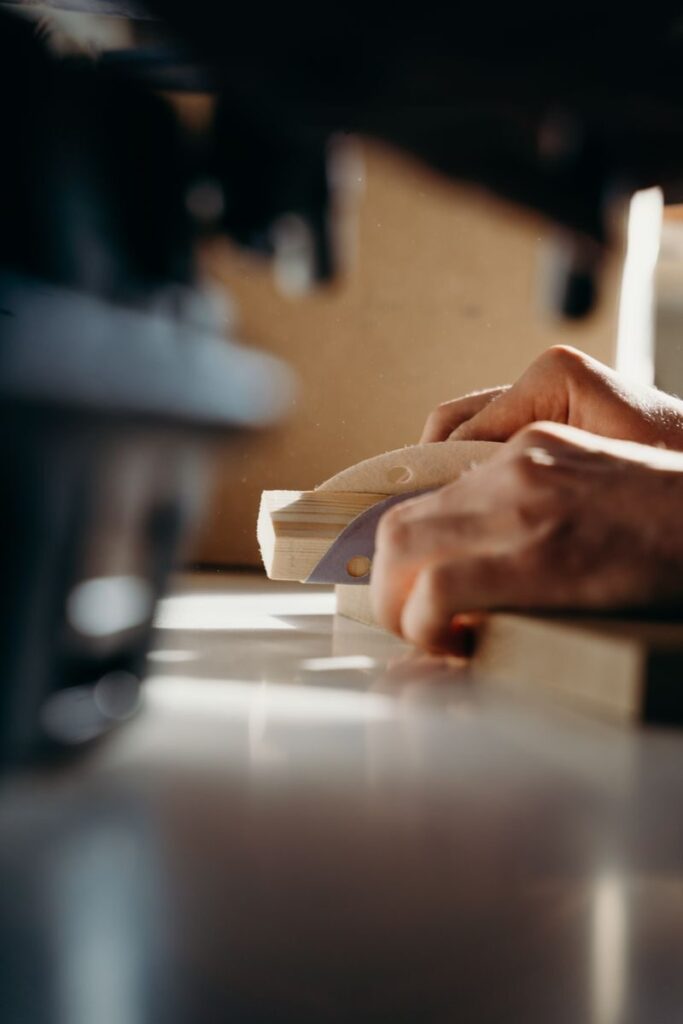
Even if you own an orbital sander, a sanding block is still essential.
It provides greater control around edges and corners or if you want to sand more gently than an orbital sander allows (especially on some veneer edges).
Cork versions of these are cheap and more forgiving if the sandpaper slips but you can also make your own out of a piece of scrap wood.
You can wrap ordinary sandpaper around the block or you can even re-use your spent sanding discs from your orbital sander, as they generally don’t wear evenly and still have some life left in them.
Best for:
- Test patches
- Small areas
- Fine finishing
- Delicate areas of veneer
6. Detail Sanding Attachment Kit
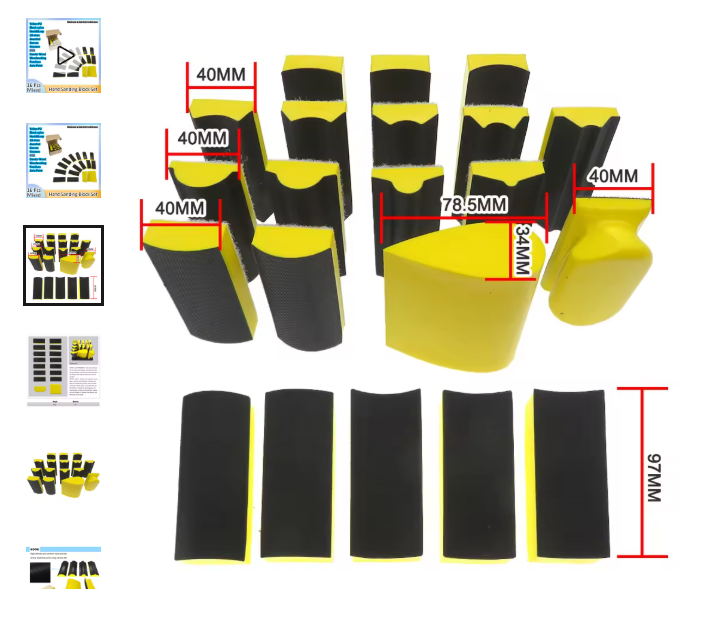
Furniture often has corners, grooves and decorative details that an orbital sander simply can’t reach.
A detail sanding attachment or multi-tool sanding kit allows you to smooth tight spaces without damaging the surrounding timber.
It’s particularly useful when restoring vintage furniture with carved details or louvred doors.
However, they do require quite a bit of elbow grease. Although many have the hook and loop backing required to attach them to a detail sander (if you have one), I often find hand sanding better as it’s hard to keep them in the right spot and apply pressure evenly.
They also sell these kits on AliExpress (often with a hand sanding attachment that you can use for better grip). As mentioned, check out How to Find the Best Bargains on AliExpress for more information on purchasing items from here.
Best for:
- Intricate furniture
- Corners
- Decorative mouldings
7. Microfibre Mini Nap Roller
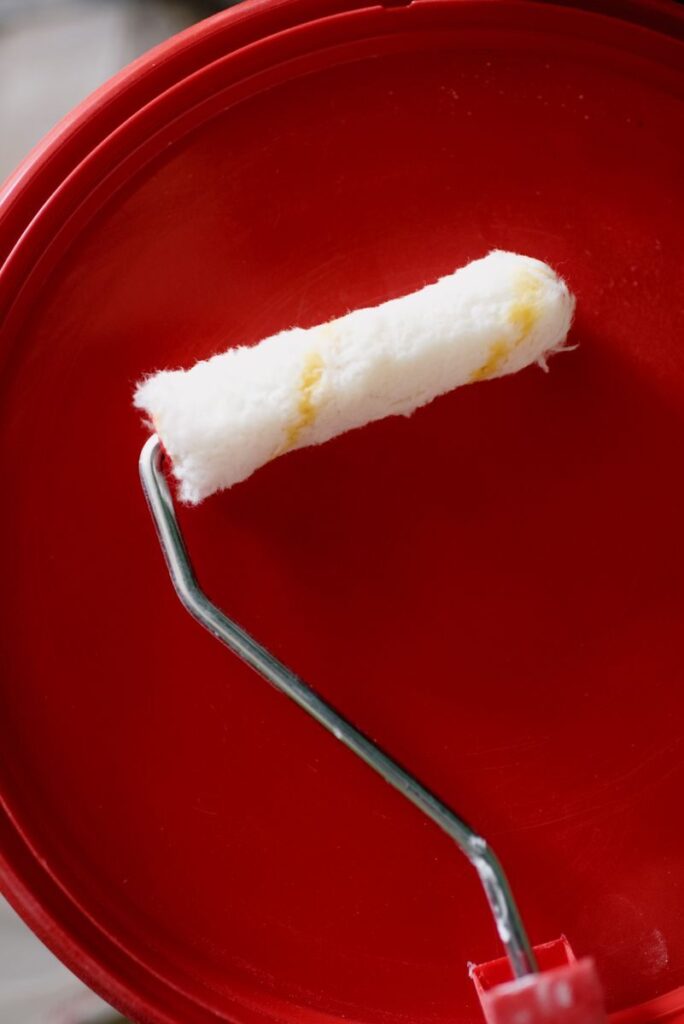
A high-quality microfibre mini nap roller is one of the easiest ways to achieve a smooth finish with wood finishes like hard wax oil or water-based primers and paints.
Compared with brushes, a roller produces fewer brush marks and provides a more even coat on cabinet sides, drawer fronts and flat panels.
Choose a short nap (around 4–6 mm) for the smoothest results. I have had success with this one (not sponsored): UNi-PRO 100mm 4mm Nap Little Ripper Microfibre Mini Roller Set – Bunnings Australia
Best for:
- Priming
- Painting cabinets
- Applying wood finishes like hard wax oil
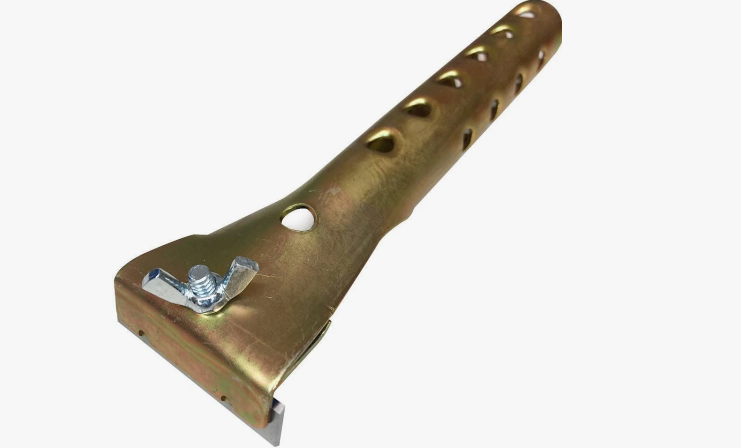
8. Carbide Scraper
Before reaching for coarser sandpaper, consider using a carbide scraper.
A sharp scraper can quickly remove old finishes, glue residue and surface imperfections while producing less dust than sanding. Once you master how to use one, it can be time saving but I have found that it doesn’t work on all finishes and can be tricky to get the hang of.
Many experienced furniture restorers rely on a scraper to preserve delicate veneers but you do have to be very careful if the veneer is very thin as you can end up gouging or scraping right through the wood.
Common problems with carbide scrapers often include the following:
- The finish being too hard for it to work properly (e.g. with certain factory finishes)
- A loose or misaligned blader causing the scraper to squeak and chatter across the wood
- Incorrect angle and pressure being used, causing the blade to scream and squeal when you drag it across the wood.
I recommend watching a couple of YouTube videos if you’re having trouble.
Replacement blades also available from AliExpress. Again, not sponsored, just cheap.
Best for:
- Removing finishes
- Saving time and sanding discs
- Creating less dust
9. Clamps
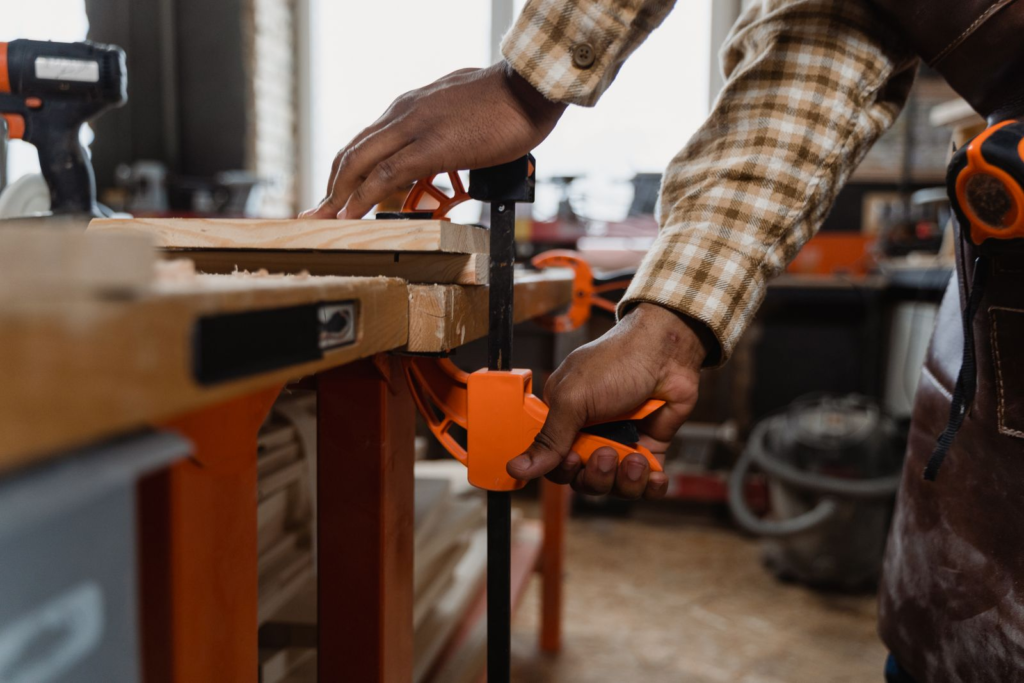
Good clamps feel like having an extra pair of hands.
Whether you’re gluing loose joints, repairing drawers or attaching new edging, clamps keep everything securely in place while the adhesive cures.
Having several different sizes is incredibly useful but I just have a cheap pair and they do the job just fine most of the time.
Best for:
- Gluing
- Repairs
- Holding workpieces securely
10. PPE (Personal Protective Equipment)
Furniture restoration creates plenty of fine dust, particularly when sanding old finishes.
Most importantly, protecting your lungs, eyes and ears should always be a priority.
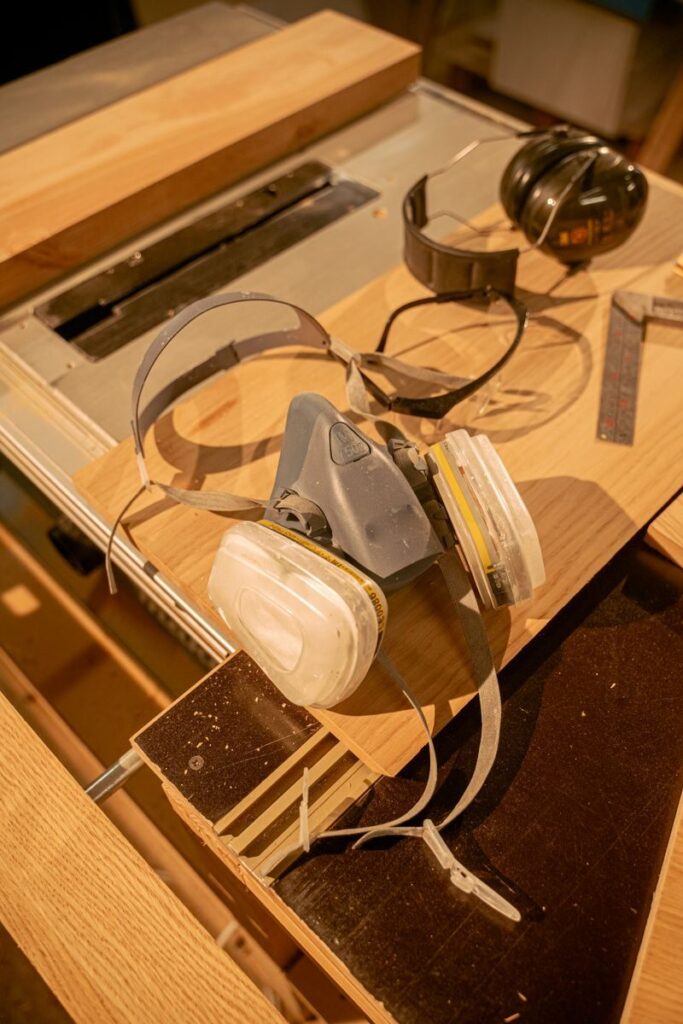
A comfortable dust mask or respirator and quality safety glasses make sanding sessions much safer. Ear protection against the noise of an orbital sander is also advised.
It is important to know that the entire safety of a dust mask or respirator depends on its fit. No matter how expensive it is, if the mask does not seal properly against your face, it will not protect you. Look for one with a good fit.
A respirator is generally advised over elastic disposable dust masks as they provide a better seal. This is particularly important if you carrying out a lot of restoration work or working with toxic substances (such as toxic vapours from chemicals or sanding dust from lead paint or MDF). If you have facial hair, this will affect the seal so look into alternative options.
The type of respirator will depend on whether you are just working with sanding dust or whether you are working with chemicals such as paint strippers, solvents, or varnishes (as a particulate filter alone will not protect you). If you are working with chemicals, you will need a mask/filter rated for organic vapour.
Best for:
- Sanding
- Chemical exposure
- General workshop safety
Build Your Toolkit Over Time
You don’t need to buy everything at once.
Many successful furniture restorers started with just an orbital sander, a screwdriver and some sandpaper. As your skills and confidence grow, you can gradually add more specialised tools to your workshop.
Investing in quality tools also pays dividends in the long run. Well-made tools last for years, produce better results and make every restoration project more enjoyable. However, if you’re on a tight budget, don’t let that prevent you from getting started with some cheaper tools, second-hand bargains or hand-me-downs.
Final Thoughts
Furniture restoration is one of the most rewarding DIY hobbies, and having the right tools can transform both the process and the final result. Whether you’re restoring a vintage cabinet, refinishing a loved dining table or rescuing a kerbside find, these ten essential tools will prepare you for almost any project.
With a small investment in the right equipment, you’ll spend less time struggling with the job and more time enjoying the satisfaction of bringing beautiful furniture back to life.
See the Re-loved Rooms Guide to Spotting Quality Furniture Suitable for Restoration to help you pick out your next project.
Leave a Reply